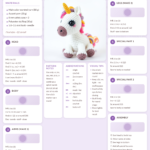
Amigurumi Patterns Free Crochet: 7 Perfect Animal Patterns (Including a Fox!)
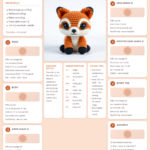
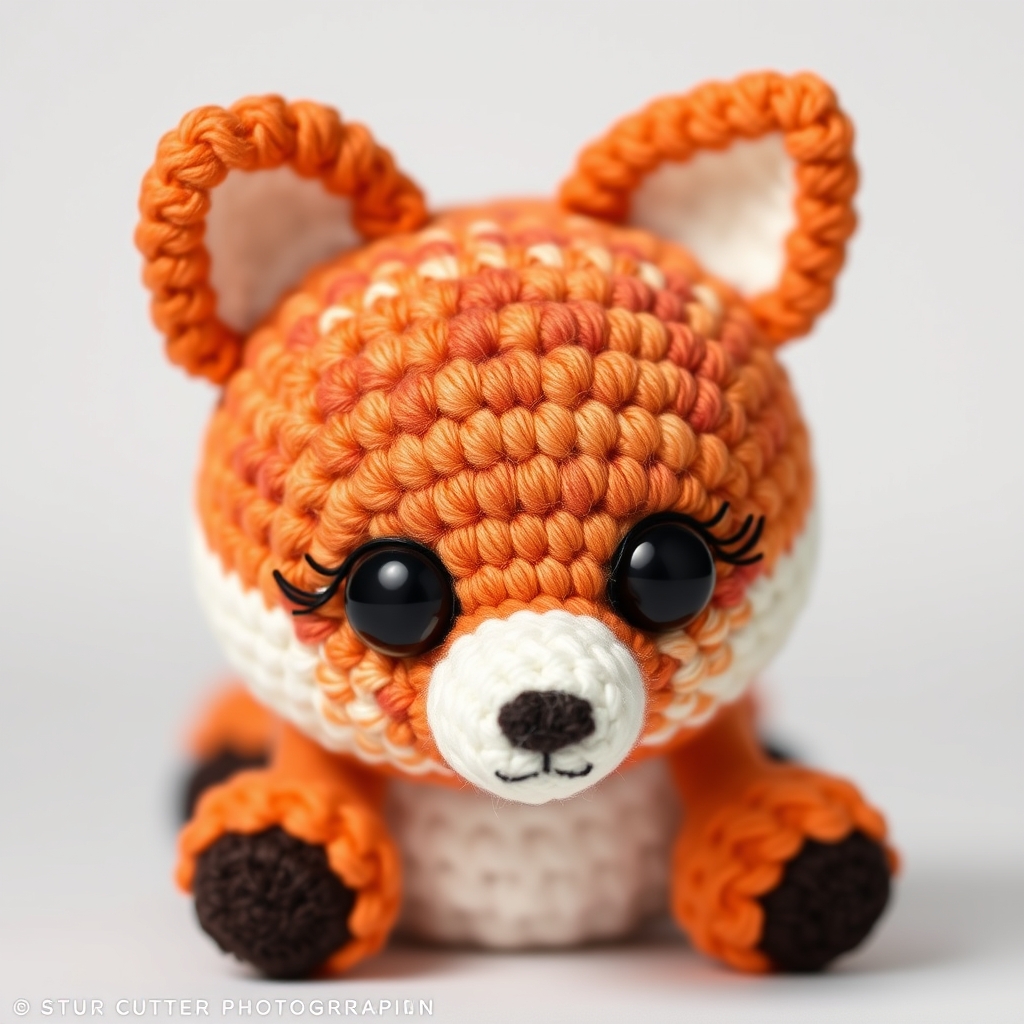
Have you ever wanted to turn yarn into a cuddly friend? Whether you’re looking for a cozy gift, a nursery decoration, or a new crochet challenge, amigurumi patterns free crochet offers endless creative possibilities. Today, we’re sharing a complete Fox crochet pattern—plus six other adorable animal designs—that are perfect for beginners and experienced crocheters alike.
Why You Will Love This amigurumi patterns free crochet
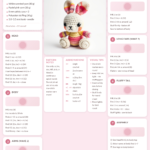
This collection of cute crochet animals is more than just yarn and hooks—it’s a gateway to handmade joy. Here’s why these amigurumi patterns will become your go-to projects:
- Trending and timeless: Amigurumi is a staple in crochet communities, beloved for its versatility and charm. Ravelry’s Amigurumi Trends 2024
- Beginner-friendly: Each pattern includes step-by-step instructions, making it easy to follow along even if you’re new to crochet.
- Perfect for gifts: Handmade stuffed Fox toys and other animals are heartfelt presents for birthdays, holidays, or baby showers.
- Nursery décor: These soft, plush designs add a touch of whimsy to any child’s room. Try a crochet fox or bunny for a woodland theme!
- Popular on Etsy: Many crocheters sell their amigurumi creations as digital patterns or finished products. Inspire your own handmade business!
- Endless customization: Change colors, sizes, or add unique details like a bushy tail or pointed ears to make your handmade Fox truly one-of-a-kind.
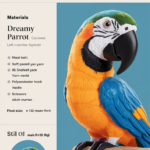
Materials and Tools You Need for Your Amigurumi Fox
Before diving into your easy amigurumi pattern, gather these essentials:
Yarn Colors for Your Fox
Choose high-quality yarn for a soft, durable finish. Here’s what we recommend:
- Orange: Main body color (worsted weight yarn, #4).
- White: Belly, snout, and inner ears.
- Black: Nose, eye markings, and tail tip.
- Brown: Optional: Use for subtle shading on the back or paws.
Supplies Checklist
| Item | Purpose | Recommended Type |
|---|---|---|
| Crochet Hook | Size to match your yarn | 3.5mm (E/4) for worsted weight yarn |
| Safety Eyes | Give your Fox a cute, animated look | 8mm black safety eyes (adjustable for a softer look) |
| Fiberfill Stuffing | Plump up your Fox evenly | Polyester fiberfill (hypoallergenic if needed) |
| Stitch Marker | Mark the start of rounds | Locking stitch marker or scrap yarn |
| Yarn Needle | Weave in ends and sew parts together | Tapestry needle (blunt tip) |
| Scissors | Trim yarn and cut excess | Sharp embroidery scissors |
Yarn Choice: Cotton vs. Acrylic for Amigurumi
Not sure which yarn to use? Here’s a quick comparison:
| Type | Pros | Cons | Best For |
|---|---|---|---|
| Cotton Yarn | Durable, holds stitches well, eco-friendly | Can be stiff, less stretchy | Structured items like baskets or stiff toys |
| Acrylic Yarn | Soft, affordable, wide color range, machine-washable | Less breathable, may pill over time | Stuffed animals, plushies, wearables |
For your crochet plushie Fox, acrylic yarn is ideal for its softness and ease of care.
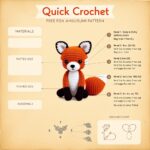
Step-by-Step Fox Crochet Pattern
Follow these instructions to create your own amigurumi Fox. Use a magic ring for all parts to avoid gaps.
Step 1: Crochet the Head
Start with the main color (orange yarn).
- Round 1: 6 sc in magic ring (6)
- Round 2: 2 sc in each st around (12)
- Round 3: *Sc in next st, 2 sc in next st* around (18)
- Round 4: Sc in next 2 sts, 2 sc in next st, repeat from * around (24)
- Rounds 5–8: Sc in each st around (24)
- Round 9: *Sc in next 2 sts, sc dec* around (18)
- Rounds 10–11: Sc in each st around (18)
- Round 12: *Sc in next st, sc dec* around (12)
- Stuff firmly.
- Round 13: Sc in each st around (12)
- Round 14: Sc dec around (6). Fasten off and weave in ends.
Step 2: Face Patch / Eye Markings
For the fox’s face:
- Using white yarn, embroider a small triangle for the snout (point facing down).
- Attach safety eyes above the snout, spacing them 4–5 stitches apart.
- Embroider a black “V” shape above the eyes for markings.
- Using black yarn, embroider a small triangle nose at the tip of the snout.
Step 3: Crochet the Body
Continue with orange yarn.
- Round 1: 6 sc in magic ring (6)
- Round 2: 2 sc in each st around (12)
- Round 3: *Sc in next st, 2 sc in next st* around (18)
- Round 4: Sc in next 2 sts, 2 sc in next st, repeat from * around (24)
- Rounds 5–10: Sc in each st around (24)
- Round 11: *Sc in next 2 sts, sc dec* around (18)
- Rounds 12–13: Sc in each st around (18)
- Round 14: *Sc in next st, sc dec* around (12)
- Stuff firmly.
- Round 15: Sc in each st around (12). Fasten off and leave a long tail for sewing.
Step 4: Crochet the Arms (x2)
Use white yarn for the inner paws.
- Round 1: 6 sc in magic ring (6)
- Round 2: Sc in each st around (6)
- Rounds 3–4: Sc in each st around (6)
- Round 5: Sc dec around (3). Fasten off and leave a long tail.
Step 5: Crochet the Legs (x2)
Use orange yarn for the main legs.
- Round 1: 6 sc in magic ring (6)
- Round 2: Sc in each st around (6)
- Rounds 3–6: Sc in each st around (6)
- Round 7: Sc dec around (3). Fasten off and leave a long tail.
Step 6: Special Features Unique to the Fox
The fox’s bushy tail is its signature! Here’s how to make it:
- Using orange yarn, chain 20.
- Row 1: Sc in second chain from hook and each chain across (19).
- Row 2: Turn, sc in each st across (19).
- Repeat Row 2 until the tail reaches your desired length (typically 4–6 inches).
- Fold the tail in half and sew the top edge to the fox’s back.
- Using black yarn, embroider a small triangle at the tip of the tail.
Step 7: Assembly
Time to bring your handmade Fox to life!
- Sew the head to the top of the body using the long tail from the body. Leave the top of the head slightly open to adjust stuffing.
- Attach the arms to the sides of the body, positioning them slightly forward for a natural look.
- Sew the legs to the bottom of the body, spacing them evenly.
- Weave in all remaining ends securely.
- Give your fox a final fluff by adjusting the stuffing and trimming any loose fibers.
Crochet Graphic: Fox Body Shape
Use this ASCII chart as a visual guide for the fox’s body shape. The graphic reflects the tapering from head to tail.
O / \ x x / \ x x / \ x x \ / x x \ / x x \ / O
Legend:
| Symbol | Stitch |
|---|---|
x |
Single Crochet (sc) |
V |
Increase (2 sc in same st) |
A |
Decrease (sc dec) |
O |
Chain (ch) |
● |
Slip Stitch (sl st) |
Finished Measurements for Your Crochet Fox
| Measurement | Size |
|---|---|
| Height | Approx. 9 inches (23 cm) |
| Width (at widest point) | Approx. 5 inches (13 cm) |
| Skill Level | Beginner to Intermediate |
Creative Uses for Your Crochet Fox
Your crochet plushie Fox isn’t just a toy—it’s a versatile decor piece and gift!
- Baby Shower Gift: Pair your fox with a matching bunny or bear for a woodland-themed set.
- Nursery Decoration: Hang your fox on a crib or shelf for a playful touch. nursery decor ideas
- Etsy Product: Sell your finished foxes or offer the pattern as a downloadable PDF.
- Birthday Present: Personalize the fox with the recipient’s favorite colors.
- Holiday Ornament: Add a loop at the top and hang it on your tree for a whimsical touch.
Common Mistakes to Avoid
Even simple patterns can go wrong if you’re not careful. Here’s what to watch for:
- Uneven Stuffing: Overstuffing causes visible bumps, while understuffing makes your fox limp. Aim for firm but soft.
- Skipping Stitch Markers: Always mark the start of each round to avoid spiraling.
- Ignoring Tension: Too tight? Your stitches will pucker. Too loose? Your fox will look sloppy. Practice on a swatch first!
- Sewing Parts Backwards: Double-check the orientation of the arms, legs, and tail before sewing.
- Forgetting Safety Eyes: If using embroidery for eyes, keep them symmetrical and evenly spaced.
Tips for Maximizing Results
Follow these best practices to crochet the perfect Fox:
- Use a Stitch Counter: Apps like “Crochet Tracker” help you keep count of rounds and stitches.
- Block Your Pieces: Lightly steam or wet-block your fox parts before assembly to even out stitches.