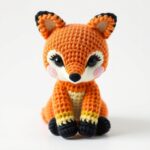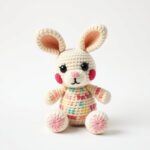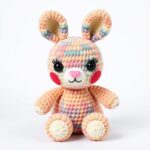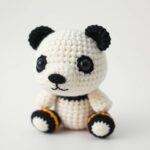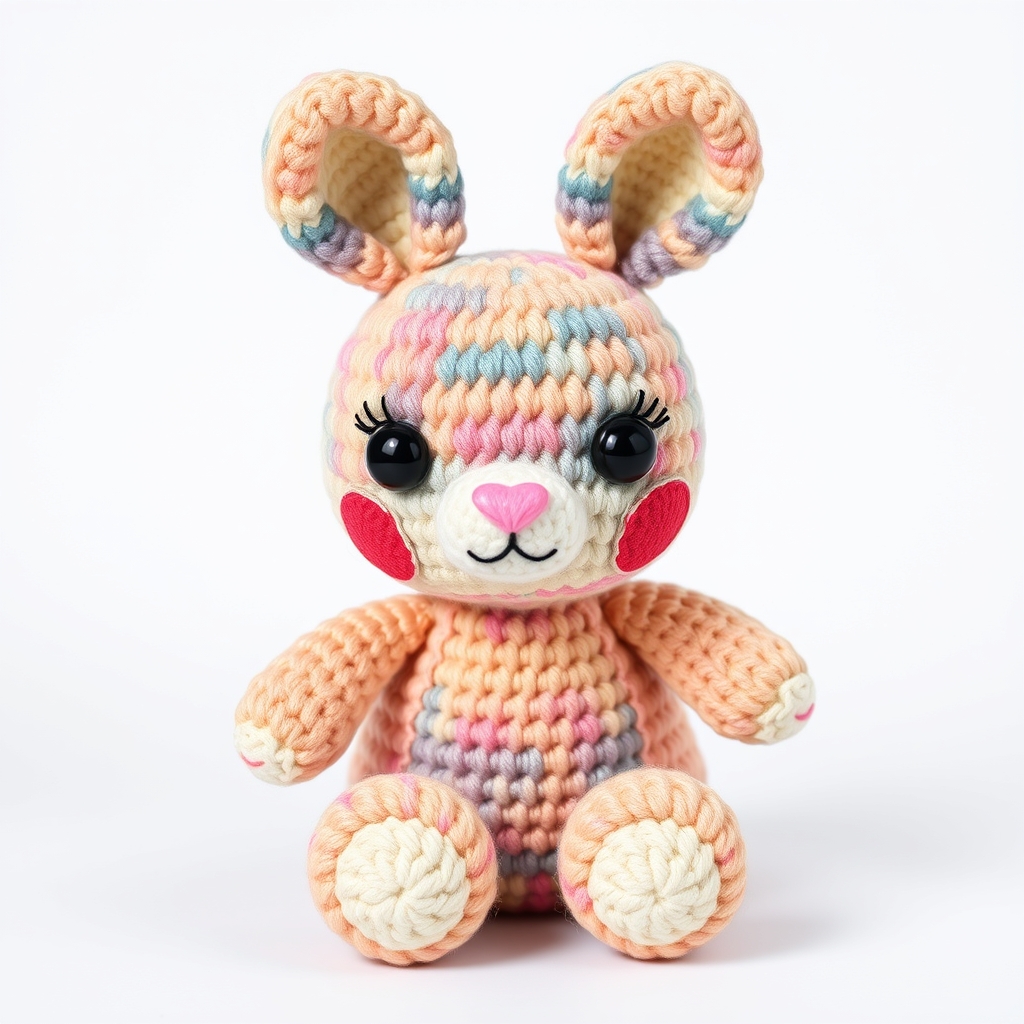
Beginner Crochet Patterns – Adorable Easy Amigurumi Chameleon
Ever wondered how to create lifelike crochet animals that double as charming decor? This beginner crochet patterns guide walks you through stitching an enchanting amigurumi Chameleon—perfect for gifting or adding whimsy to any space.
Introduction
What if you could crochet a tiny, colorful friend that looks like it just stepped out of a jungle? The beginner crochet patterns for this amigurumi Chameleon make it possible—even if you’re just starting out. Whether you’re crafting a unique gift, a nursery decoration, or a playful plushie, this pattern delivers cuteness with minimal stress. Best of all, amigurumi is trending right now, making handmade Chameleon toys a hot commodity on platforms like Etsy—perfect for budding crochet entrepreneurs!
Why You Will Love This Beginner Crochet Patterns
- Trending Design: Handmade crochet animals are all over Pinterest and TikTok—this Chameleon is no exception.
- Beginner-Friendly: Uses basic stitches and minimal shaping, ideal for new crocheters.
- Great Gift Idea: Perfect for baby showers, birthdays, or holiday surprises.
- Nursery Decor: Adds a pop of color and texture to any child’s room.
- Etsy Success Potential: Small, colorful amigurumi like this sell quickly online.
- Adorable Design: Vibrant, cartoonish features make it irresistibly cute.
Materials and Tools You Need
To bring your crochet Chameleon to life, gather these essentials:
Yarn Colors
- Main Body: Green (Worsted weight, #4)
- Belly & Face: Light Green or Yellow
- Eyes: Black and White (or safety eyes)
- Belly Markings: Pale Pink or Peach
- Tail: Dark Green or Turquoise
Supplies
- Crochet Hook: 3.5mm (E/4) – ideal for tight stitches in amigurumi.
- Fiberfill Stuffing: Polyester stuffing (hypoallergenic recommended).
- Safety Eyes: 6–8mm (optional: embroider eyes instead).
- Stitch Marker: To track rounds.
- Yarn Needle: For weaving ends.
- Scissors: Small, sharp pair for clean cuts.
Yarn Comparison Table
| Yarn Type | Pros | Cons | Best For |
|---|---|---|---|
| Cotton | Durable, smooth, holds stitches well. | Less stretchy, can be stiff. | Structured amigurumi (like this Chameleon). |
| Acrylic | Budget-friendly, soft, widely available. | May stretch or lose shape over time. | Practice pieces or plushies needing softness. |
Step-by-Step Chameleon Crochet Pattern
Step 1: Crochet the Head
Start with a magic ring. Work in continuous rounds unless noted.
- Round 1: 6 sc into ring. (6)
- Round 2: Inc in each st. (12)
- Round 3: (Sc in next st, inc) x 6. (18)
- Round 4: (Sc in next 2 st, inc) x 6. (24)
- Round 5: Sc in each st. (24)
- Round 6: (Sc in next 2 st, dec) x 6. (18)
- Stuff lightly.
- Round 7: (Sc in next st, dec) x 6. (12)
- Round 8: Dec 6 times. (6) Fasten off and weave in ends.
Step 2: Face Patch
Using light green yarn, embroider a small belly patch on the head. Alternatively, attach a safety eye in Round 4–5.
Step 3: Crochet the Body
- Round 1: 6 sc into ring. (6)
- Round 2: Inc in each st. (12)
- Round 3: (Sc in next st, inc) x 6. (18)
- Round 4: Sc in each st. (18)
- Round 5: (Sc in next 2 st, inc) x 6. (24)
- Rounds 6–10: Sc in each st. (24)
- Round 11: (Sc in next 2 st, dec) x 6. (18)
- Stuff firmly.
- Round 12: (Sc in next st, dec) x 6. (12) Fasten off. Leave a long tail for sewing.
Step 4: Crochet the Arms (2)
Each arm uses green yarn.
- Chain 5.
- Starting at 2nd ch from hook: sc in next 3 st, 3 sc in last st. (6)
- Rotate, sc in next 5 st. (5)
- Fasten off, leaving a tail. Flatten and sew to body.
Step 5: Crochet the Legs (2)
Use the same method as arms, but chain 6 for longer legs.
Step 6: Special Features – Tail and Snout
Tail: Chain 10, sc in 2nd ch from hook, sc across. Roll into a spiral and sew to body.
Snout: Using pale pink, chain 3, sl st to form a small triangle. Sew to face.
Step 7: Assembly
- Sew head to body.
- Attach eyes or embroider facial details.
- Sew arms and legs symmetrically.
- Add tail and snout.
- Weave in all ends.
Crochet Graphic: Chameleon Body
Below is an ASCII chart representing the Chameleon’s body. Use it as a visual guide for stitch placement.
● / \ V x x V x x x V x x x x___________x | | | V V | | x x | \_________/ x x x x x x
| Symbol | Stitch |
|---|---|
| x | Single Crochet |
| V | Increase |
| A | Decrease |
| O | Chain |
| ● | Slip Stitch |
Finished Measurements
| Measurement | Size |
|---|---|
| Height | 8 inches (20 cm) |
| Width (at widest) | 5 inches (13 cm) |
| Skill Level | Beginner |
Creative Uses for Your Crochet Chameleon
- Baby Shower Gift: Pair with a handmade blanket.
- Nursery Decoration: Hang from a crib with clear fishing line.
- Etsy Product: Market as a “handmade Chameleon” plushie.
- Birthday Present: A playful alternative to traditional stuffed animals.
- Holiday Ornament: Add a loop and hang on a tree.
Common Mistakes to Avoid
- Overstuffing: Can distort the shape—stuff firmly but not tight.
- Inconsistent Tension: Keep stitches tight for amigurumi structure.
- Skipping Stitch Markers: Use one to avoid losing your place in rounds.
- Ignoring Safety Eyes: For kids, embroider eyes instead of using plastic.
- Sewing Upside Down: Double-check arm/leg placement before stitching.
Tips for Maximizing Results
- Use a Stitch Counter: Helps track rounds, especially for beginners.
- Block Your Work: Gently steam or pin the finished pieces for a polished look.
- Experiment with Yarn: Try variegated yarn for a more dynamic Chameleon.
- Practice Color Changes: If adding stripes, practice changing colors on a swatch first.
- Watch Tutorials: Search “amigurumi tips for beginners” on YouTube for visual guidance.
Conclusion
With this easy amigurumi Chameleon pattern, you’ve unlocked a world of crochet creativity! Whether you’re stitching for fun, profit, or a special someone, this project proves that beginner crochet patterns can produce stunning results. Ready to make your own? Grab your yarn and hook, and start crocheting your Chameleon today!
👉 Download the free pattern and start crocheting your Chameleon today!
Frequently Asked Questions
- How long does it take to crochet a Chameleon? About 3–5 hours for beginners, less with practice.
- Can I use bulky yarn? Yes! Adjust hook size to 5mm, but expect a larger finished product.
- Do I need safety eyes? Not necessarily—embroidered eyes work and are safer for children.
- What’s the best stitch for beginners? Single crochet (sc) creates tight, neat stitches perfect for amigurumi.
- Can I sell these on Etsy? Absolutely! Check Etsy’s handmade policy for guidelines.
- How do I clean my amigurumi? Spot clean with a damp cloth; avoid machine washing.
- Is this pattern suitable for kids? Yes! Supervise young crocheters to avoid loose ends or small parts.