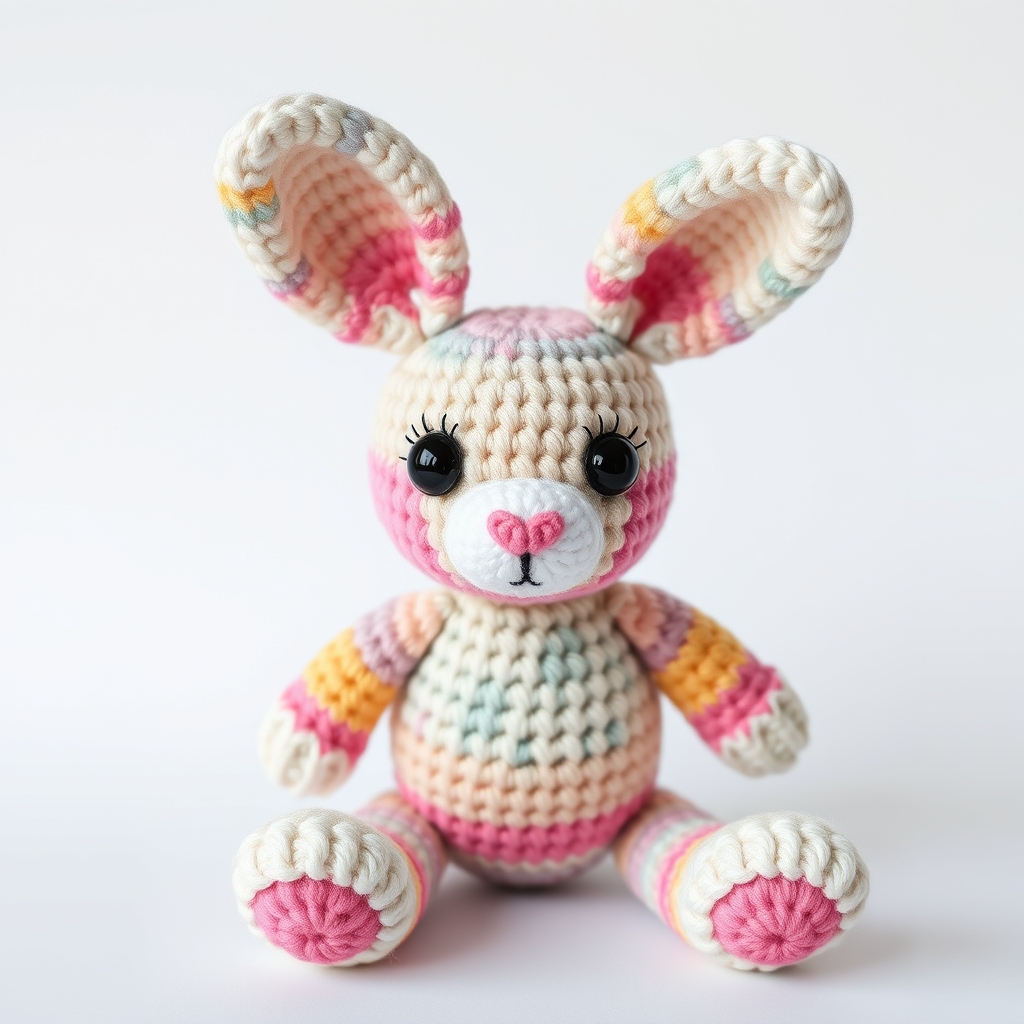
Introduction
Have you ever wished you could bring a gentle giant of the ocean into your home—without getting wet? With these beginner crochet patterns free for an amigurumi whale, you can create a huggable, handmade sea creature that’s perfect for kids, nurseries, or anyone who loves cute crochet animals. Whether you’re crafting a thoughtful gift or adding a splash of handmade charm to your space, this crochet whale pattern is beginner-friendly and endlessly rewarding. And the best part? You won’t need advanced skills or expensive tools—just yarn, a hook, and a little patience.
Why choose this whale over other amigurumi patterns? Unlike complex animals with tricky limbs or tiny details, whales are surprisingly simple to make. They have smooth curves, minimal parts, and a forgiving shape—ideal for those just learning to work in the round. Plus, their gentle, smiling faces make them instant favorites for children and collectors alike. Ready to dive in? Let’s start crafting!
Why You Will Love This beginner crochet patterns free
- Trending and Adorable: Amigurumi whales are a top-selling crochet plushie on Etsy and Instagram. Their round, friendly design appeals to all ages.
- Perfect for Beginners: This pattern uses basic stitches (single crochet, increases, decreases) and minimal shaping—great for first-timers.
- Great Gift Idea: Handmade whale toys are cherished keepsakes for baby showers, birthdays, or ocean-themed nurseries.
- Chic Nursery Decor: A soft blue crochet whale adds a playful yet soothing touch to any baby’s room.
- Popular Etsy Seller Favorite: Many top-rated amigurumi artisans sell similar whale patterns—now you can make your own!
- Endless Customization: Change colors, add stripes, or embroider a smile—your whale, your rules.
Feeling inspired? Let’s gather your supplies and get started!
Materials and Tools You Need
Here’s what you’ll need to crochet your very own amigurumi whale:
Yarn Colors and Uses
- Body: Worsted weight yarn in light blue or gray (main color)
- Underside/Belly: White yarn (for a classic whale look)
- Fins and Tail: Dark blue or navy yarn
- Optional: A small amount of black yarn for eye markings or a smile
Supplies Checklist
- Crochet hook: 3.5mm (E/4) or size recommended for your yarn
- Polyester fiberfill stuffing
- 2x 10mm safety eyes (or embroider eyes with black yarn)
- Yarn needle (for sewing parts together)
- Scissors
- Stitch marker (to mark rounds)
- Fabric glue (optional, for securing eyes or fins)
Yarn Comparison Table
| Type | Pros | Cons | Best For |
|---|---|---|---|
| Cotton Yarn | Firm stitches, holds shape well, breathable | Can be stiff, less stretchy | Amigurumi that needs structure (like this whale) |
| Acrylic Yarn | Soft, affordable, wide color range, machine-washable | Less firm, may stretch over time | Cuddly toys, gifts, frequent washing |
Pro Tip: For your first whale, use acrylic yarn—it’s forgiving and easy to find in craft stores. Once you’re comfortable, try cotton for a more polished finish.
Step-by-Step Whale Crochet Pattern
Step 1: Crochet the Head
Start with the whale’s head—the most expressive part! This piece will be worked in a spiral using single crochet (sc).
- Round 1: Magic ring, 6 sc into ring. (6)
- Round 2: 2 sc in each stitch around. (12)
- Round 3: *Sc in next stitch, 2 sc in next stitch*; repeat from * to * around. (18)
- Round 4: Sc in next 2 stitches, 2 sc in next stitch; repeat around. (24)
- Rounds 5–8: Sc in each stitch around. (24)
- Round 9: *Sc in next 3 stitches, 2 sc in next stitch*; repeat around. (30)
- Rounds 10–12: Sc in each stitch around. (30)
Tip: Place a stitch marker at the start of each round to keep track. Stuff lightly as you go to help the head hold its shape.
Step 2: Face Patch / Eye Markings
Whales often have subtle markings around their eyes. You can:
- Embroider a small black patch above each eye using a yarn needle.
- Use a contrasting color yarn to create a “smile” under the snout.
Step 3: Crochet the Body
The body is worked in one piece from the head down to the tail.
- Rounds 13–20: Continue sc in each stitch around. (30)
- Round 21: *Sc in next 2 stitches, sc2tog (decrease)*; repeat around. (24)
- Round 22: Sc in each stitch around. (24)
- Round 23: *Sc in next stitch, sc2tog*; repeat around. (18)
- Rounds 24–25: Sc in each stitch around. (18)
- Round 26: *Sc2tog* around until closed. Fasten off and weave in ends.
Important: Do not overstuff the body—just enough to keep it firm but not bulky.
Step 4: Crochet the Arms
Whales have small, fin-like arms. Make two.
- Ch 6.
- Starting in 2nd ch from hook: sc in next 4 stitches. (5)
- Ch 1, turn; sc in each stitch across. (5)
- Ch 1, turn; sc in each stitch across. (5)
- Fasten off, leaving a long tail for sewing.
Sew the arms to the sides of the whale’s body, slightly angled forward.
Step 5: Crochet the Legs
Whales don’t have legs, but you can add small flippers or a “peduncle” (the narrow part before the tail). For this pattern, we’ll crochet two tail flippers.
Flipper (make 2):
- Ch 8.
- Starting in 2nd ch from hook: sc in next 6 stitches. (7)
- Ch 1, turn; sc in each stitch across. (7)
- Ch 1, turn; sc in each stitch across. (7)
- Fasten off, leaving a tail. Sew to the bottom rear of the whale.
Step 6: Special Features Unique to the Whale
- Snout: Using white yarn, ch 4, sc in 2nd ch from hook and next 2 stitches. Fasten off and sew to the front of the head.
- Tail: For a classic whale tail, ch 12, fold in half, and slip stitch along the edge to form a fan shape. Sew to the back.
- Spout (optional):strong> Embroider a small water spray on top of the head using white yarn.
Step 7: Assembly
Now it’s time to bring your whale to life!
- Sew the safety eyes to the head, spacing them evenly above the snout.
- Attach the arms just below the middle of the body.
- Sew the flippers to the bottom rear, slightly apart.
- Weave in all ends using the yarn needle.
- Give your whale a final fluff and shape check.
Pro Tip: Use fabric glue to secure the eyes or fins if they feel loose after washing.
Crochet Graphic (Whale Body)
Here’s a simple ASCII chart showing the whale’s body shape in rounds. Use it as a visual guide while crocheting.
● / \ / \ ●---x-----x---● \ x x x / \ x x / ● ● / \ x x / \ ● ●
Legend:
| Symbol | Meaning |
| x | Single Crochet (sc) |
| V | Increase (2 sc in one stitch) |
| A | Decrease (sc2tog) |
| O | Chain (ch) |
| ● | Slip Stitch (sl st) or starting point |
Finished Measurements
| Measurement | Size |
|---|---|
| Height (from snout to tail) | Approximately 7 inches (18 cm) |
| Width (at widest point) | About 4 inches (10 cm) |
| Skill Level | Beginner |
These measurements are based on worsted weight yarn and a 3.5mm hook. Adjust hook size or yarn weight if you prefer a smaller or larger whale.
Creative Uses for Your Crochet Whale
- Baby Shower Gift: Pair your whale with a soft blanket or baby hat crochet pattern for a complete set.
- Nursery Decoration: Hang your whale from the crib or shelf using a ribbon.
- Etsy Product: Sell your handmade whales on platforms like Etsy or at local craft fairs—this pattern is a bestseller!
- Birthday Present: A personalized whale with embroidered initials makes a unique keepsake.
- Holiday Ornament: Add a loop and hang it on your Christmas tree as a nautical-themed decor piece.
Bonus Idea: Create a whole pod! Make several whales in different sizes and colors for a playful ocean scene.
Common Mistakes to Avoid
- Overstuffing: Too much fiberfill can distort the shape and make stitches harder to see. Stuff firmly but not tightly.
- Inconsistent tension: Keep your stitches even. Loose stitches create gaps; tight stitches make the piece stiff.
- Skipping the stitch marker: Without a marker, you might lose track of your rounds—especially important in spiral crochet.
- Ignoring the tail shape: A flat or uneven tail can make the whale look lopsided. Take time to shape it as you sew.
- Using the wrong hook: A hook that’s too large creates loose stitches; too small makes it hard to insert the hook.
Tips for Maximizing Results
- Use stitch markers: Mark the first stitch of each round to avoid confusion.
- Weave in ends securely: Use a yarn needle to hide tails inside the stuffing for a clean finish.
- Block your pieces: Lightly steam or wet-block the finished whale to smooth out any uneven stitches.
- Practice decreases: If you’re new to single crochet decreases (sc2tog), practice on a small swatch first.
- Experiment with color: Try a pastel pink or teal for a modern twist on the classic whale.
Conclusion
There’s nothing quite like the joy of holding a handmade whale that you created from a simple ball of yarn. This beginner crochet patterns free amigurumi whale is not only adorable but also a fantastic way to build your confidence in crochet. Whether you’re making it as a gift, a decor piece, or just for fun, the result is sure to bring smiles.
Ready to start? Download the free pattern, grab your supplies, and let your crochet adventure swim into action!
CTA: Download the free pattern and start crocheting your Whale today!
Frequently Asked Questions
- Can I use this pattern to make a larger whale?
Yes! Use a bulkier yarn (worsted or chunky) and a larger hook (4.5mm–5mm). Adjust stitch counts proportionally—aim for a 20–30% increase in rounds for each size up.
- What if I don’t have safety eyes?
No problem! You can embroider the eyes using black yarn and a yarn needle. Use a simple straight stitch or French knot for a cute, safe alternative.
- How do I wash my crochet whale?
Hand wash gently in lukewarm water with mild soap. Do not wring—lay flat to dry. Avoid machine washing to preserve the shape and stitches.
- Is this pattern suitable for children under 3?
Yes, but remove safety eyes before