Introduction
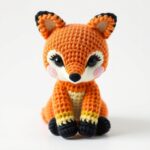
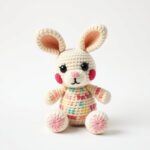
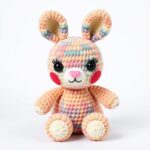
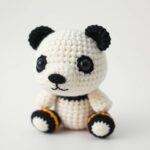
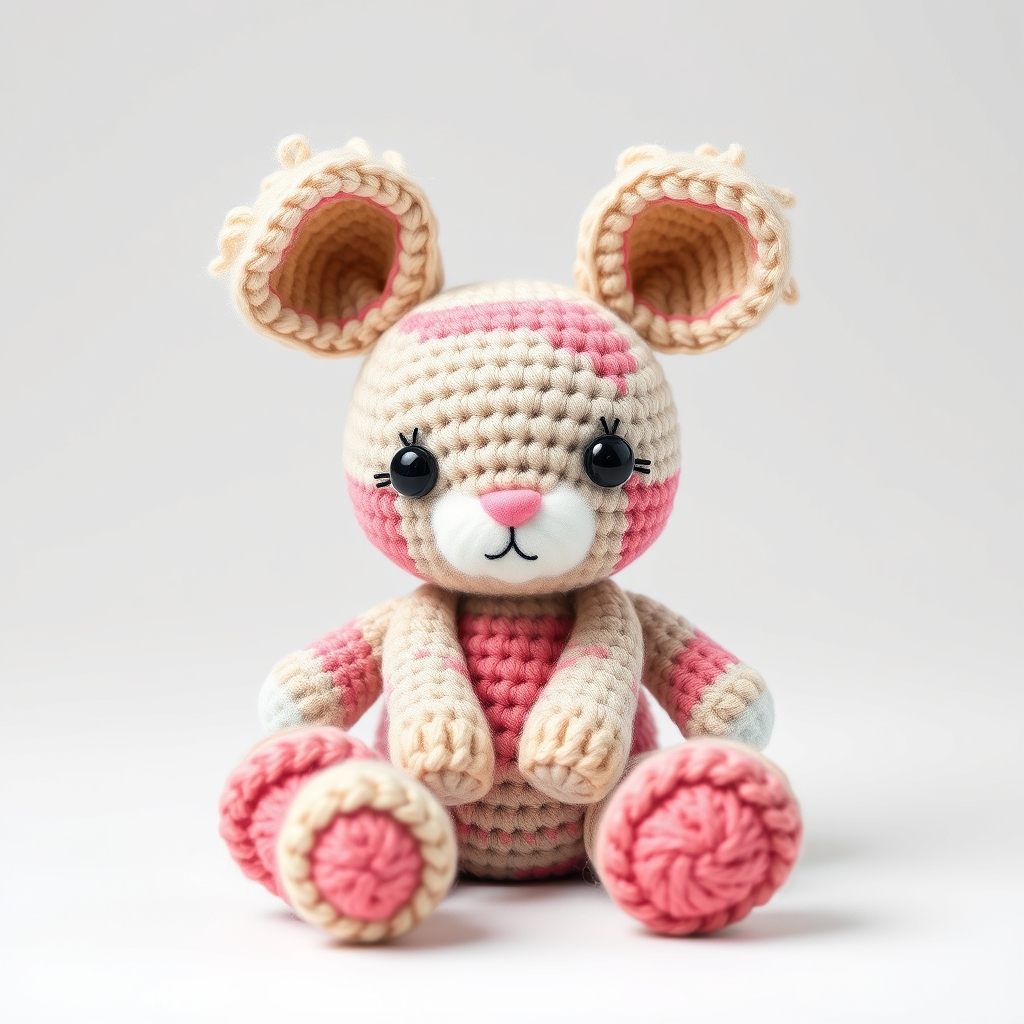
Have you ever wanted to crochet a whimsical plushie that doubles as a conversation starter? Meet your new favorite project: an Amigurumi Walrus—a chubby, lovable crochet creature that’s as fun to make as it is to cuddle. Whether you’re a seasoned crocheter or a beginner eager to dive into beginner amigurumi patterns, this free amigurumi pattern delivers everything you need: clear instructions, charming design, and instant gratification. Perfect for gifting, nursery decor, or simply adding a dash of handmade charm to your space, this crochet Walrus comes to life in just a few evenings.
Why You Will Love This free amigurumi patterns
- Trending & Adorable – Amigurumi walruses are surging in popularity on platforms like Etsy and Instagram, making them a hot trend for 2024.
- Beginner-Friendly – No complex shapes or color changes; this pattern uses basic stitches and minimal increases/decreases.
- Great Gift – Handmade with love, a crochet Walrus makes a unique birthday, holiday, or baby shower present.
- Nursery Decor – Soft, washable, and safe for nurseries, these plushies blend seamlessly into any room’s aesthetic.
- Etsy Seller Favorite – Many crafters have turned similar patterns into best-selling digital downloads on Etsy.
- Cute & Cuddly – With its round belly and expressive face, this Walrus is guaranteed to melt hearts.
Materials and Tools You Need
To bring your crochet Walrus to life, gather these essentials. For the best results, use high-quality yarn and tools tailored for amigurumi work.
Yarn Colors & Uses
- Body: Light gray or slate blue worsted weight yarn (approx. 150 yards)
- Belly: White worsted weight yarn (approx. 50 yards)
- Tusks: Cream or off-white yarn (approx. 20 yards)
- Eyes & Nose: Black and pink yarn for facial details
- Optional: Light brown or dark gray for whiskers or subtle markings
Supplies Checklist
- Crochet hook: 3.5mm (E/4) for tight stitches
- Safety eyes: 12mm or 15mm (adjust for size preference)
- Fiberfill stuffing: Polyester or organic cotton
- Stitch marker: To track rounds
- Yarn needle: Blunt tip for weaving ends
- Scissors: Sharp embroidery scissors
- Fabric glue (optional): To secure whiskers
Cotton vs Acrylic Yarn for Amigurumi
| Attribute | Cotton Yarn | Acrylic Yarn |
|---|---|---|
| Durability | Holds shape well, less stretchy | More forgiving, slightly stretchy |
| Texture | Slightly rough, good for defined stitches | Smooth, great for tight stitches |
| Cost | Moderate to high | Affordable and widely available |
| Best For | Structured pieces, washable items | Budget-friendly projects, beginners |
Tip: For this Walrus, acrylic yarn (like Red Heart Super Saver or Lion Brand Vanna’s Choice) offers a smooth finish and easy care, perfect for a huggable plushie.
Step-by-Step Walrus Crochet Pattern
Step 1: Crochet the Head
Start with a magic ring. Work in continuous rounds (no joining) using single crochet (SC).
- Round 1: 6 SC into magic ring. (6)
- Round 2: 2 SC in each stitch. (12)
- Round 3: (SC in next stitch, 2 SC in next stitch) around. (18)
- Round 4: SC in next 2 stitches, 2 SC in next stitch; repeat around. (24)
- Rounds 5–7: SC around. (24)
- Round 8: (SC in next 2 stitches, SC decrease) around. (18)
- Round 9: (SC in next stitch, SC decrease) around. (12)
- Round 10: SC decrease around. (6)
- Fasten off, leaving a 6-inch tail for sewing. Stuff firmly before closing.
Step 2: Add Face Patch & Eye Markings
For a Walrus’s distinctive look, add a white belly patch and eye markings:
- Embroider a small white oval on the belly using the white yarn.
- Embroider black pupils above safety eyes (placed in Round 5).
- Add a pink nose using a small chain loop or surface slip stitches.
Step 3: Crochet the Body
The body is worked in one piece, tapering at the top and bottom.
- Round 1: 6 SC into magic ring. (6)
- Round 2: 2 SC in each stitch. (12)
- Rounds 3–5: SC around. (12)
- Round 6: (SC in next 2 stitches, 2 SC in next stitch) around. (16)
- Rounds 7–9: SC around. (16)
- Round 10: (SC in next 2 stitches, SC decrease) around. (12)
- Rounds 11–12: SC around. (12)
- Fasten off, leaving a tail for sewing. Partially stuff the body.
Step 4: Crochet the Arms
Make two arms (left and right).
- Round 1: 4 SC into magic ring. (4)
- Round 2: 2 SC in each stitch. (8)
- Rounds 3–4: SC around. (8)
- Fasten off, leaving a long tail for sewing. Flatten slightly and sew to the sides of the body.
Step 5: Crochet the Legs
Make two legs. Walruses have stout, flipper-like legs.
- Round 1: 4 SC into magic ring. (4)
- Round 2: 2 SC in each stitch. (8)
- Rounds 3–4: SC around. (8)
- Fasten off, leaving a tail. Sew to the bottom of the body, angled slightly outward.
Step 6: Special Features Unique to the Walrus
- Tusks: Chain 2, SC in second chain from hook; repeat for two tusks. Sew to the upper lip.
- Whiskers: Cut 6-inch pieces of white yarn, thread through the snout area, and secure with fabric glue or knots.
- Tail: Make a small oval using SC: 6 SC in magic ring, SC in each stitch for 4 rounds, then decrease. Sew to the back.
Step 7: Assembly
- Attach safety eyes between Rounds 4 and 5 of the head. Embroider eyebrows if desired.
- Sew the head to the top of the body, aligning the neck evenly.
- Stuff the head and body firmly before final sewing.
- Attach arms and legs at a slight angle for a natural stance.
- Weave in all ends using a yarn needle.
Crochet Graphic (Walrus Body)
Here’s an ASCII visual to guide your stitch placement. Each symbol represents a stitch in the round. The Walrus body is wider in the middle and tapers at top and bottom.
● OOO x x x V V V V x x x x x A A A A A A x x x x x x x O O O O O O O O
Legend:
| Symbol | x | V | A | O | ● |
| Meaning | Single Crochet (SC) | Increase (2 SC in one stitch) | Decrease (SC2TOG) | Chain (CH) | Slip Stitch (SL ST) |
Finished Measurements
| Measurement | Size |
|---|---|
| Height | Approximately 10 inches (25 cm) |
| Width (at widest point) | About 6 inches (15 cm) |
| Skill Level | Beginner |
Creative Uses for Your Crochet Walrus
- Handmade gift for a child or animal lover
- Nursery decoration or mobile accent
- Etsy product listing or craft fair item
- Birthday or holiday ornament substitute
- Photo prop for a themed party or photo shoot
- Pet toy alternative (supervised use only)
Common Mistakes to Avoid
- Overstuffing: Avoid bulging seams—stuff firmly but not tightly.
- Inconsistent tension: Keep stitches snug to prevent gaps.
- Misplaced eyes: Align eyes symmetrically between Rounds 4 and 5.
- Skipping the stitch marker: Use one to avoid losing track of rounds.
- Ignoring safety eyes: For children under 3, embroider eyes instead.
Tips for Maximizing Results
- Use a stitch counter app to track rounds, especially during shaping.
- Block your pieces lightly with steam or a damp cloth to even out stitches.
- Experiment with yarn weight—bulkier yarns will yield a larger Walrus.
- Add a tag with care instructions for gifts.
- For a personalized touch, use variegated or ombre yarn.
Conclusion
With this free amigurumi pattern, you’re just a few hours away from crafting a huggable, handmade Walrus that’s as joyful to make as it is to receive. Whether you’re refreshing your nursery decor, creating a heartfelt gift, or just indulging in the meditative rhythm of crochet, this project delivers charm and satisfaction in equal measure. Ready to start stitching? Download the free pattern and start crocheting your Walrus today!
Frequently Asked Questions
- Can I use bulkier yarn?
Yes! Switch to a 4.5mm hook and worsted or bulky yarn for a larger Walrus. Adjust stuffing accordingly.
- Is this pattern suitable for absolute beginners?
Absolutely. It uses only single crochet, increases, and decreases—no color changes or complex techniques.
- How do I wash my crochet Walrus?
Hand wash in cold water with mild detergent. Air dry flat to preserve shape.
- Can I sell items made from this pattern?
Yes, but credit the original designer (you!) and avoid mass-producing identical items without modification.
- What if I run out of yarn?
Acrylic worsted yarn is widely available. Check yarn brands like Red Heart or Caron for color matching.
- How can I make my Walrus look more realistic?
Add subtle shading with darker gray yarn on the back or define muscle tone with surface slip stitches.
- What’s the best way to store the finished Walrus?
Keep it in a breathable cotton bag to prevent dust buildup and maintain shape.
Pro Tip: Share your finished Walrus on social media with #CrochetWalrus and tag us—we’d love to see your creation!