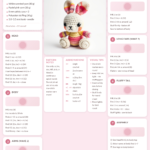
Free Bunny Crochet Pattern – Easy Amigurumi Bunny
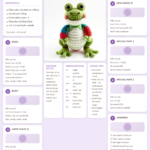
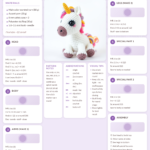
Have you ever wished you could bring a soft, cuddly friend to life with just a hook and some yarn? Meet your new favorite project: a charming crochet Bunny that’s as fun to make as it is to hug! Whether you’re a seasoned crafter or just beginning your crochet journey, this easy amigurumi Bunny pattern is the perfect way to create a heartwarming keepsake or a thoughtful gift.
Amigurumi, the Japanese art of crocheting stuffed toys, has taken the crafting world by storm—and for good reason. These adorable, small stuffed creatures are not only delightful to make but also make wonderful additions to nurseries, playrooms, or as personalized holiday decorations. This free Bunny crochet pattern is designed with simplicity in mind, featuring clear instructions and minimal sewing, so you can focus on the joy of making.
Ready to get started? Grab your yarn and let’s stitch up some bunny love!
—
Why You Will Love This crochet
- Beginner-friendly: Uses basic stitches like single crochet and simple increases/decreases—no complex techniques required.
- Quick to complete: Work up a cute stuffed Bunny toy in just a few evenings.
- Perfect gift: Ideal for babies, toddlers, or anyone who loves handmade crochet plushies.
- Nursery-ready: Soft, washable, and safe for little hands; fits beautifully in a crib or on a shelf.
- Trending design: Amigurumi Bunnies are a top-selling item on Etsy and Instagram—great for gifting or selling.
- Customizable: Change colors, add embroidered details, or tweak the size to make it your own.
—
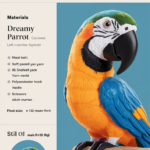
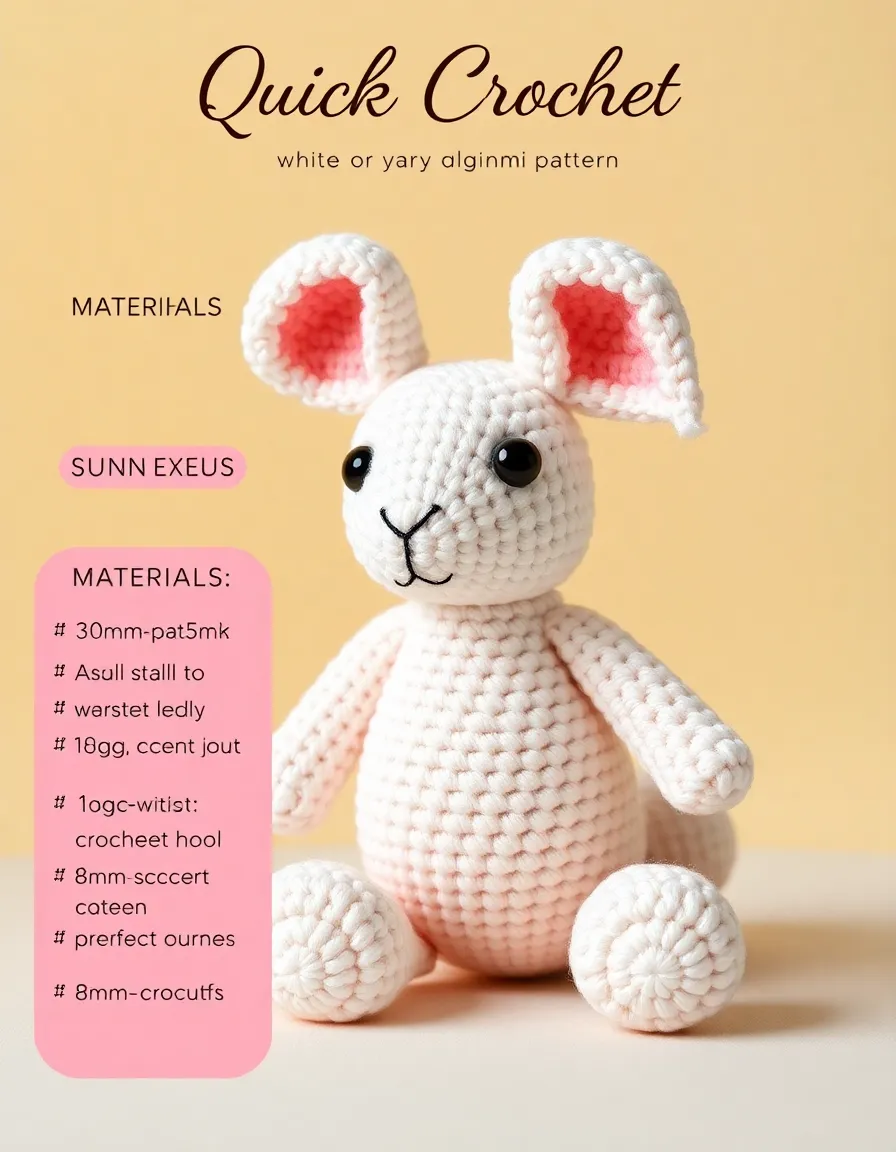
Materials and Tools You Need
Let’s gather everything you need to bring your crochet Bunny to life. Below is a list of materials and tools, including yarn recommendations and alternatives.
Yarn Colors & Uses
| Part | Yarn Color | Suggested Yarn Type | Amount |
|---|---|---|---|
| Head & Body | Soft cream or white | Size 4 (worsted weight) cotton or acrylic | 1 skein (approx. 50g) |
| Ears | Soft pink or lavender | Size 4 cotton or acrylic | Small amount (20g) |
| Snout | Soft pink | Size 4 cotton or acrylic | Small amount (10g) |
| Paw pads & inner ears | Light gray or white | Size 4 cotton or acrylic | Tiny amount (10g) |
| Embroidered details (eyes, nose, whiskers) | Black or dark brown | Embroidery floss | 1 small skein |
Supplies Checklist
- Crochet hook: 3.5mm (E/4) – ideal for worsted weight yarn and tight stitches (no stuffing will show).
- Fiberfill stuffing: Polyester fiberfill for a soft, squishy feel.
- Safety eyes: 6mm or 7mm (optional—can embroider eyes instead).
- Yarn needle: Blunt tapestry needle for sewing parts together and weaving in ends.
- Scissors: Small, sharp scissors for trimming yarn.
- Stitch marker: Helps mark the beginning of rounds.
- Fabric glue (optional): For securing embroidery or adding grip to paws.
Yarn Comparison: Cotton vs. Acrylic for Amigurumi
| Property | Cotton Yarn | Acrylic Yarn |
|---|---|---|
| Durability | Strong, holds stitches well | Soft, slightly stretchy |
| Washability | Machine-washable, retains shape | Machine-washable, may pill over time | Stitch Definition | Excellent | Good |
| Eco-Friendliness | Natural, biodegradable | Synthetic, petroleum-based |
| Best For | Beginners, frequent washing, gift items | Budget projects, softness, color variety |
For this pattern, I recommend using 100% cotton yarn (like Sugar ‘n Cream or Peaches & Crème) for a crisp finish and durability. But if you prefer softness and affordability, a worsted-weight acrylic (like Red Heart Super Saver) works beautifully too.
—
Step-by-Step Bunny Crochet Pattern
Now, let’s create your easy amigurumi Bunny pattern step by step. Use a magic ring (adjustable loop) for the head and body to avoid gaps.
Stitch abbreviation key:
- sc: single crochet
- inc: increase (2 sc in same stitch)
- dec: invisible decrease (or regular decrease)
- sl st: slip stitch
- ch: chain
- BLO: back loop only
⚠️ Important: Work in continuous rounds (spiral). Use a stitch marker to track the start of each round.
—
Step 1: Crochet the Head
Rounds are worked in spiral. Start with cream yarn.
- Round 1: Magic ring, 6 sc into ring. (6)
- Round 2: Inc in each st. (12)
- Round 3: (sc in next st, inc in next st) x6. (18)
- Round 4: (sc in next 2 sts, inc in next st) x6. (24)
- Round 5: (sc in next 3 sts, inc in next st) x6. (30)
- Round 6–10: Sc in each st around. (30) – This builds height.
- Round 11: (sc in next 3 sts, dec) x6. (24)
- Round 12: (sc in next 2 sts, dec) x6. (18)
- Round 13: (sc in next st, dec) x6. (12)
- Round 14: Dec in each st. (6)
- Fasten off. Leave a long tail for sewing.
Weave in the starting tail.
—
Step 2: Add Face Patch / Eye Markings
Position the safety eyes (or embroider) between Rounds 7 and 8, about 4 stitches apart. Alternatively, embroider small black circles with yarn or floss.
Using pink yarn, embroider a small snout (upside-down triangle) centered below the eyes, between Rounds 9 and 10.
Add a tiny black dot at the tip of the snout for the nose. Use black embroidery floss to stitch a smiling mouth with 3 small straight stitches.
—
Step 3: Crochet the Body
- Round 1: Magic ring, 6 sc into ring. (6)
- Round 2: Inc in each st. (12)
- Round 3: (sc in next st, inc in next st) x6. (18)
- Round 4: (sc in next 2 sts, inc in next st) x6. (24)
- Round 5–8: Sc in each st around. (24)
- Round 9: (sc in next 2 sts, dec) x6. (18)
- Round 10: (sc in next st, dec) x6. (12)
- Round 11: Dec in each st. (6)
- Fasten off. Leave a long tail for sewing.
—
Step 4: Crochet the Arms (x2)
- Ch 8.
- Starting in 2nd ch from hook: sc in each ch across. (7 sc)
- Ch 1, turn; sc in each st across. (7 sc)
- Ch 1, turn; sc in each st across. (7 sc)
- Fold the chain in half and sl st across the top edge to close into a tube.
- Fasten off, leaving a tail for sewing.
- Repeat for second arm.
Stuff lightly with fiberfill before sewing.
—
Step 5: Crochet the Legs (x2)
- Ch 10.
- Starting in 2nd ch from hook: sc in each ch across. (9 sc)
- Ch 1, turn; sc in each st across. (9 sc)
- Ch 1, turn; sc in each st across. (9 sc)
- Fold the chain in half and sl st across the top edge to close into a tube.
- Fasten off, leaving a long tail for sewing and stuffing.
- Repeat for second leg.
Stuff legs firmly before sewing.
—
Step 6: Special Features – Bunny Ears
Make 2 ears using pink yarn.
- Round 1: Magic ring, 4 sc into ring. (4)
- Round 2: Inc in each st. (8)
- Round 3: (sc in next st, inc in next st) x4. (12)
- Round 4–5: Sc in each st around. (12)
- Round 6: (sc in next 2 sts, dec) x3. (9)
- Fasten off. Leave a long tail.
Flatten the ear slightly and sew the flat edge to the top of the head (between Rounds 4–6), slightly tilted outward. Add a small gray or white yarn circle in the center of each ear for detail.
—
Step 7: Assembly
- Stuff the head and body firmly with fiberfill.
- Pin the arms and legs in place:
- Arms: Sew to sides of the body, between Rounds 5–7.
- Legs: Sew to bottom of body, centered.
- Sew the head to the top of the body, aligning stitches.
- Weave in all ends securely using the yarn needle.
- Optional: Add a small cotton ball at the base of the tail for fluffiness.
✅ Your adorable handmade Bunny is complete!
—
Crochet Graphic: Bunny Body Shape
Below is an ASCII crochet graphic showing the general shape of the Bunny’s body in spiral rounds. This helps visualize how the rounds expand and taper.
● / \ x x x x x x x V V V x x x x x x x O x x x x x x x x x x x x x x x x x x x x x x x x x x x A A x x x x x x x x x ●
Legend:
| Symbol | Meaning |
|---|---|
| x | Single crochet |
| V | Increase (2 sc in same stitch) |
| A | Decrease |
| O | Chain stitch (used in flat pieces like arms/legs) |
| ● | Slip stitch or center of spiral |
This graphic represents the tapered head (top), wide body (middle), and rounded bottom—ideal for an amigurumi style.
—
Finished Measurements
| Measurement | Size |
|---|---|
| Height (ears included) | Approx. 8 inches (20 cm) |
| Width (across body) | Approx. 4 inches (10 cm) |
| Skill Level | Beginner |
—
Creative Uses for Your Crochet Bunny