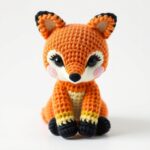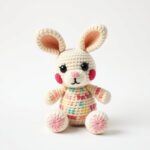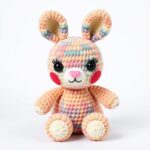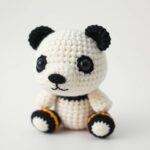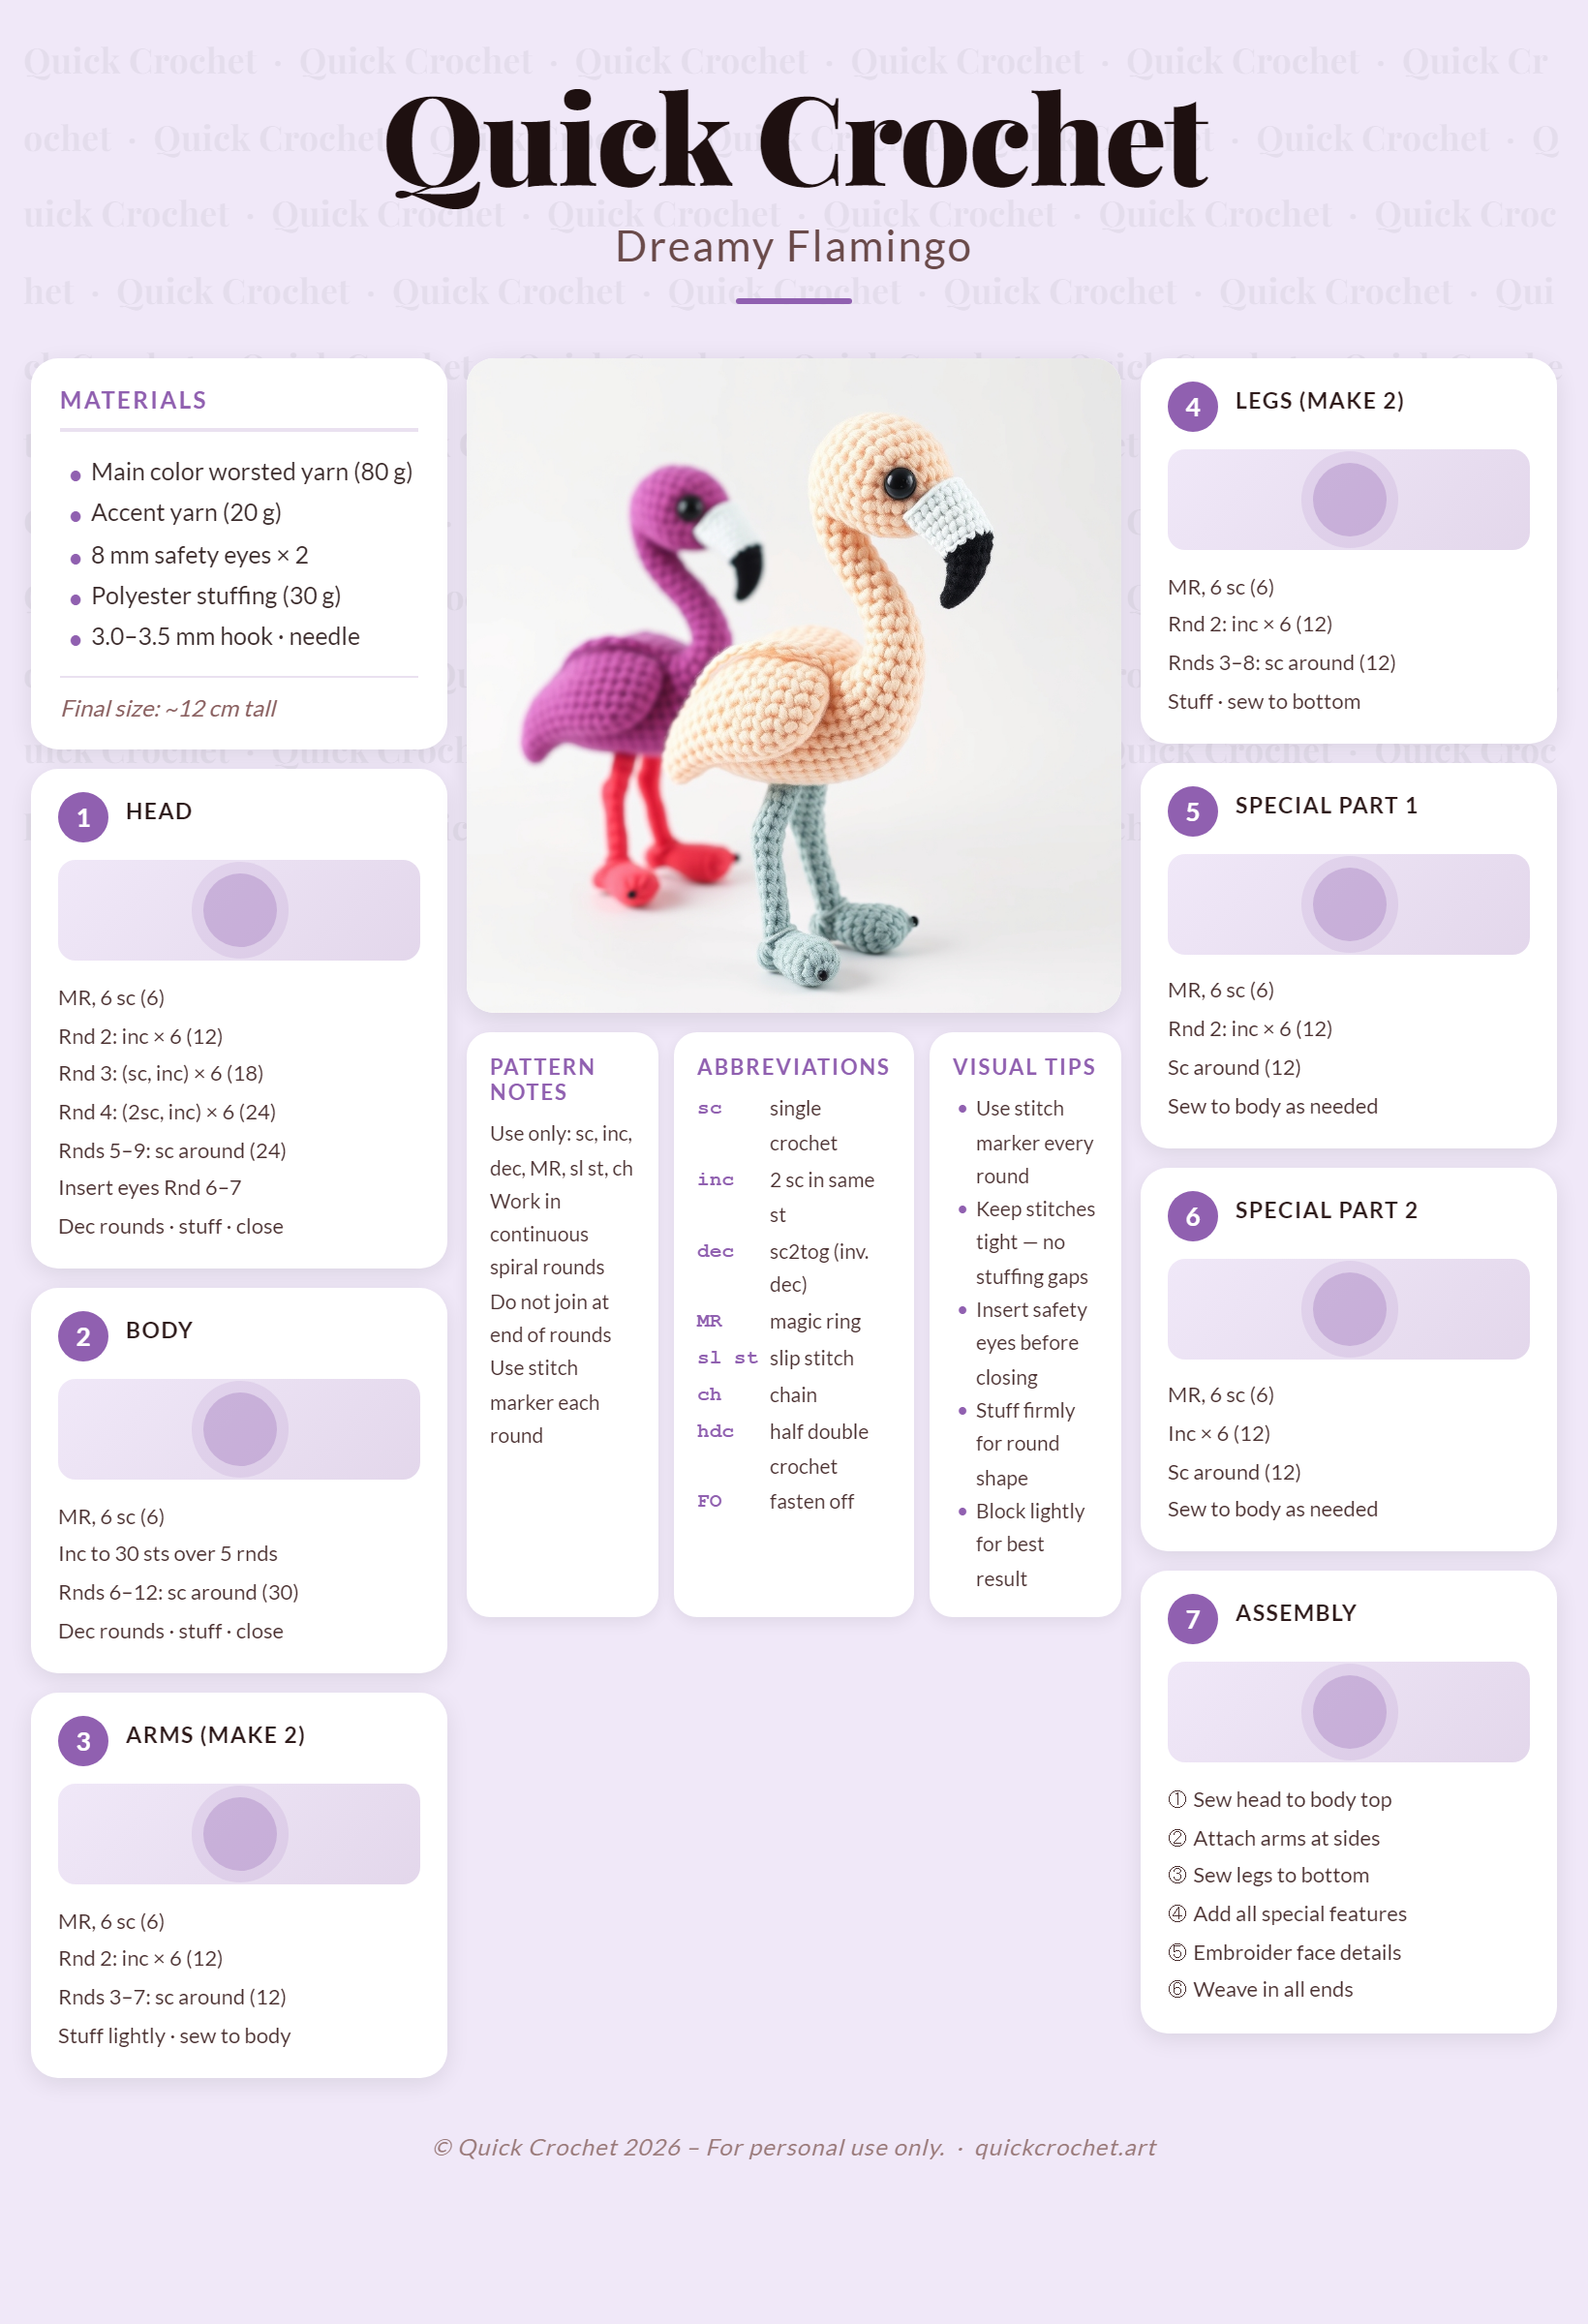
Introduction
Have you ever dreamed of crocheting your own adorable Flamingo plushie that could brighten any room or become a heartfelt gift? Whether you’re a seasoned crocheter or just beginning your journey with crochet basics for beginners, this easy amigurumi Flamingo pattern is designed to help you create a charming stuffed Flamingo in no time. With its vibrant pink hues and graceful silhouette, this Flamingo is more than just a toy—it’s a statement piece for your home decor, a unique nursery companion, or a personalized present for a loved one.
This crochet Flamingo pattern is beginner-friendly, allowing you to practice fundamental amigurumi techniques while creating something truly special. By the end of this guide, you’ll have a beautiful handmade Flamingo that showcases your creativity and skill. Whether you’re looking to enhance your crochet portfolio or simply enjoy a fun crafting project, this pattern is your go-to resource. Ready to start? Grab your yarn and hook, and let’s dive into the world of crochet animals!
Why You Will Love This crochet
- Trending Design: Flamingos are a popular choice in amigurumi, making this pattern a sought-after project for crochet enthusiasts.
- Beginner-Friendly: With clear, step-by-step instructions, even beginners can create a stunning Flamingo plushie with ease.
- Perfect Gift Idea: Handmade crochet Flamingos are ideal for birthdays, baby showers, or as a thoughtful homemade present.
- Versatile Home Decor: This Flamingo fits seamlessly into nursery themes, coastal decor, or as a playful accent in any room.
- Popular on Etsy: Many crocheters sell similar patterns on Etsy, proving there’s a market for charming handmade Flamingos.
- Cute and Collectible: Amigurumi animals are always in demand, and this Flamingo is no exception—adorable and fun to make!
Materials and Tools You Need
To bring your crochet Flamingo to life, gather these essential materials and tools:
Yarn Colors
- Pink (Main Color): Approx. 150 yards of worsted weight yarn for the body.
- White: Small amount for the face patch and eye markings.
- Black: For the eyes and beak.
- Light Pink: Optional for subtle shading on the body.
Supplies
- Crochet Hook: Size 3.5 mm (E/4) or size recommended for your yarn.
- Safety Eyes: 10 mm or 12 mm (adjust based on desired Flamingo size).
- Fiberfill Stuffing: Polyester stuffing for a soft, plush feel.
- Stitch Marker: To mark the beginning of rounds.
- Yarn Needle: For weaving in ends and sewing parts together.
- Scissors: Sharp scissors for cutting yarn.
Yarn Type Comparison
| Material | Pros | Cons | Best For |
|---|---|---|---|
| Cotton Yarn | Durable, holds shape well, great stitch definition | Less stretchy, can feel stiff | Amigurumi that need structure |
| Acrylic Yarn | Soft, affordable, widely available, stretchy | Can stretch out over time, less durable | Beginner projects, plush toys |
Step-by-Step Flamingo Crochet Pattern
Step 1: Crochet the Head
Start with your main pink yarn.
- Create a magic ring. Round 1: 6 sc into the ring. (6)
- Round 2: Inc in each st around. (12)
- Round 3: (Sc in next st, inc in next st) around. (18)
- Round 4: Sc in next 2 sts, inc in next st, (sc in next 2 sts, inc in next st) around. (24)
- Round 5: Sc in next 3 sts, inc in next st, (sc in next 3 sts, inc in next st) around. (30)
- Round 6–8: Sc in each st around. (30 each round)
- Round 9: (Sc in next 4 sts, dec over next 2 sts) around. (24)
- Round 10–11: Sc in each st around. (24 each round)
- Round 12: (Sc in next 3 sts, dec over next 2 sts) around. (18)
- Stuff firmly. Round 13: (Sc in next 2 sts, dec over next 2 sts) around. (12)
- Round 14: Dec around. (6) Fasten off and weave in ends.
Step 2: Face Patch
Using white yarn:
- Create a small oval or teardrop shape with 8–10 sc rows.
- Sew the white patch onto the center of the head using a yarn needle.
Step 3: Crochet the Body
- Magic ring. Round 1: 6 sc into the ring. (6)
- Round 2: Inc in each st around. (12)
- Round 3: (Sc in next st, inc in next st) around. (18)
- Round 4: Sc in next 2 sts, inc in next st, (sc in next 2 sts, inc in next st) around. (24)
- Round 5: Sc in next 3 sts, inc in next st, (sc in next 3 sts, inc in next st) around. (30)
- Round 6–10: Sc in each st around. (30 each round)
- Round 11: (Sc in next 4 sts, dec over next 2 sts) around. (24)
- Round 12–13: Sc in each st around. (24)
- Round 14: (Sc in next 3 sts, dec over next 2 sts) around. (18)
- Begin stuffing firmly. Round 15: (Sc in next 2 sts, dec over next 2 sts) around. (12)
- Round 16: Dec around. (6) Fasten off, leaving a long tail for sewing.
Step 4: Crochet the Arms (Make 2)
- Chain 6. Row 1: Sc in second chain from hook and in each st across. (5)
- Row 2–6: Ch 1, turn, sc in each st across. (5 each row)
- Fold the rectangle in half and sc across the edge to create a tube. Leave a long tail for sewing.
- Flatten and sew the arms to the sides of the body.
Step 5: Crochet the Legs (Make 2)
- Magic ring. Round 1: 6 sc into the ring. (6)
- Round 2: Inc in each st around. (12)
- Round 3–5: Sc in each st around. (12 each round)
- Round 6: (Sc in next st, dec over next 2 sts) around. (8)
- Round 7: Sc in each st around. (8)
- Flatten the top and sc across to close. Stuff lightly. Sew to the bottom of the body.
Step 6: Special Features Unique to the Flamingo
- Beak: Using black yarn, create a small triangle (3 sc rows) and sew it onto the face.
- Eyes: Attach safety eyes to the white face patch. Alternatively, embroider black eyes.
- Neck Bend: Gently bend the head forward to give your Flamingo a natural pose.
Step 7: Assembly
- Sew the head to the top of the body.
- Weave in all loose ends using a yarn needle.
- Adjust stuffing for a firm but soft finish.
- Add the arms and legs securely.
- Embroider any final details, such as eyelashes or wing markings.
Crochet Graphic (Flamingo Body)
● / \ / \ x x / \ / \ x V x V / \ \ x x x \ / \ / x x x x \ / \ x x \ / x x \ / ●
Legend:
| Symbol | Meaning |
|---|---|
| x | Single Crochet |
| V | Increase (2 sc in one stitch) |
| A | Decrease (sc2tog) |
| O | Chain |
| ● | Slip Stitch |
Finished Measurements
| Measurement | Size |
|---|---|
| Height | Approx. 12 inches (30 cm) |
| Width (at widest point) | Approx. 8 inches (20 cm) |
| Skill Level | Beginner to Intermediate |
Creative Uses for Your Crochet Flamingo
- Baby Shower Gift: A handmade Flamingo plushie is a unique and thoughtful present for a new baby.
- Nursery Decoration: Perfect for adding a playful touch to a coastal-themed nursery.
- Etsy Product: Sell your creations on platforms like Etsy for a creative side hustle.
- Birthday Present: A cute and cuddly Flamingo is sure to delight any birthday celebrant.
- Holiday Ornament: Hang a mini version on your Christmas tree for a festive touch.
- Wedding Decor: Use Flamingo plushies as part of your wedding theme for a whimsical vibe.
Common Mistakes to Avoid
- Overstuffing: Too much stuffing can distort the shape and make stitches difficult to work.
- Inconsistent Tension: Keep your stitches even to maintain a professional finish.
- Skipping Stitch Markers: Always mark your rounds to avoid losing track of where you are.
- Ignoring Safety Eyes: If using safety eyes, ensure they are securely fastened to prevent choking hazards.
- Rushing Assembly: Take your time sewing parts together for a neat and secure finish.
Tips for Maximizing Results
- Use Stitch Markers: Place a stitch marker at the beginning of each round to keep track of your progress.
- Block Your Work: Gently shape your Flamingo while the yarn is still damp to set the stitches.
- Choose the Right Yarn: Opt for a smooth, worsted-weight yarn for the best results in amigurumi.
- Practice Increases and Decreases: Master these techniques to create a polished, professional-looking Flamingo.
- Experiment with Colors: Try variegated or gradient yarns for a unique twist on the classic pink Flamingo.
Conclusion
Creating your own crochet Flamingo pattern is a rewarding and enjoyable project that allows you to express your creativity while honing your crochet skills. This easy amigurumi Flamingo is perfect for beginners and experienced crocheters alike, offering a fun and functional finished product. Whether you’re making it as a gift, a home decor piece, or a charming addition to your crochet collection, this pattern delivers results you’ll be proud of.
Ready to get started? Download the free pattern and start crocheting your Flamingo today! Don’t forget to share your finished creation with us—we’d love to see your handiwork!
Frequently Asked Questions
What is Amigurumi?
Amigurumi is the Japanese art of knitting or crocheting small stuffed yarn creatures and anthropomorphic objects. It typically involves using a crochet hook to create tight, even stitches that form a dense fabric, ideal for stuffing.
Do I need to be an expert crocheter to make this Flamingo?
Not at all! This pattern is designed with beginners in mind, using basic stitches and clear instructions. If you can crochet a magic ring, single crochet, and increase