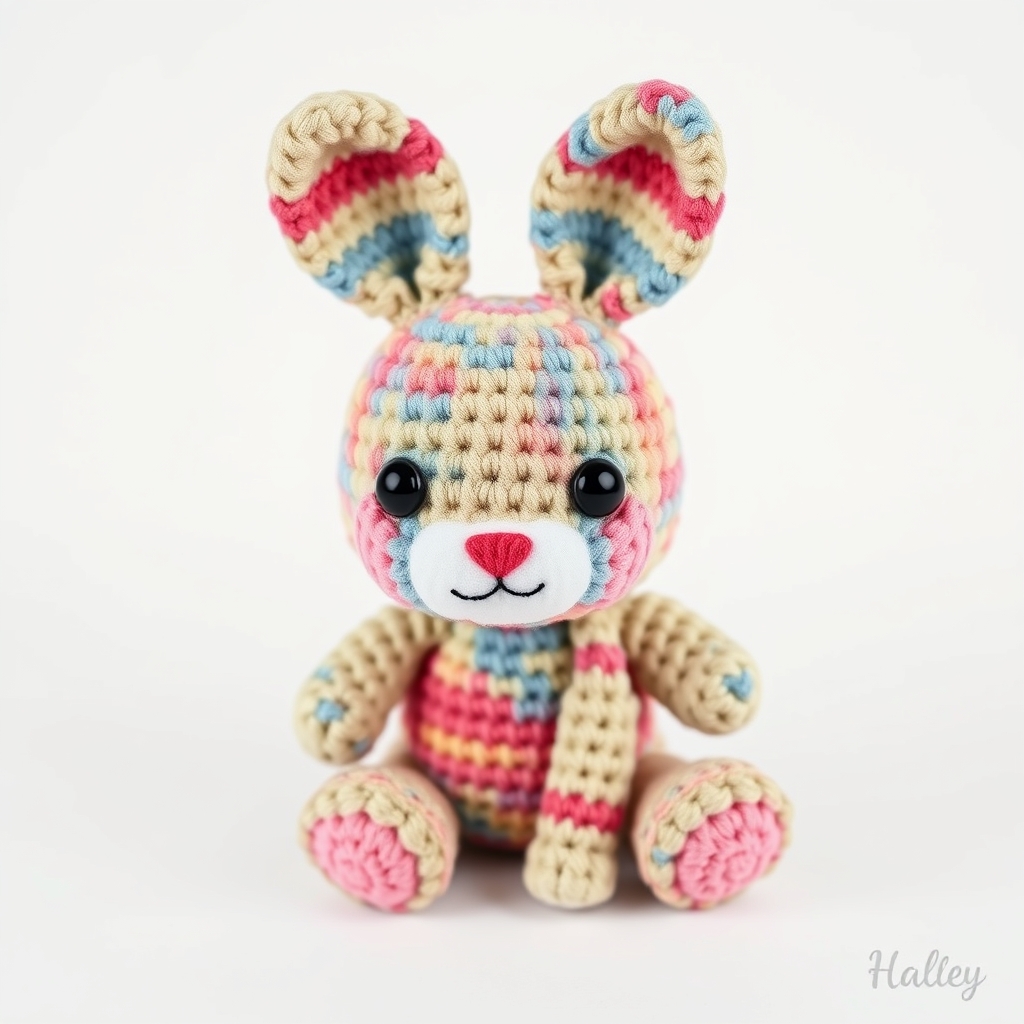
Introduction
Have you ever wondered how to crochet an adorable platypus that looks almost too cute to be real? With this free amigurumi crochet pattern, you can create your very own handmade platypus in just a few hours — even if you’re a beginner! Amigurumi, the Japanese art of knitting or crocheting stuffed yarn creatures, has taken the crafting world by storm. Whether you want to add a unique touch to your nursery decor, craft a heartfelt gift, or simply indulge in a fun DIY project, this platypus pattern delivers charm, simplicity, and endless possibilities.
This particular amigurumi platypus is designed with beginners in mind. It uses basic crochet stitches and follows a clear, step-by-step structure to ensure success from start to finish. Plus, its distinctive features — from the flat snout to the webbed feet — make it instantly recognizable and irresistibly lovable.
Why You Will Love This free amigurumi crochet patterns
- Perfect for Beginners: Uses simple stitches and clear instructions.
- Trending & Adorable: Platypus plushies are a rising trend in handmade toys and gifts.
- Great for Gifting: A unique, personalized present for birthdays, baby showers, or holidays.
- Nursery Decor: Adds a whimsical touch to any child’s room or play area.
- Cost-Effective DIY: Uses affordable materials available at most craft stores.
- Etsy-Worthy Design: Sells well on platforms like Etsy as a handmade crochet plushie.
Materials and Tools You Need
Before you begin, gather your supplies. This list includes everything you’ll need to crochet a high-quality, 3D amigurumi platypus.
Yarn Colors and Types
| Part | Yarn Color | Yarn Type (Recommended) |
|---|---|---|
| Body | Medium Brown | Cotton or Acrylic (Size 4, Worsted Weight) |
| Snout | Tan or Light Beige | Cotton or Acrylic |
| Webbed Feet & Tail | Dark Brown or Black | Cotton or Acrylic |
| Eyes (Optional) | Safety Eyes (6–8mm) | Plastic or Silicone |
Essential Supplies
- Crochet Hook: 3.5mm (E/4) or size recommended for your yarn.
- Fiberfill Stuffing: Polyester stuffing for a soft, plush finish.
- Safety Eyes: 6mm or 8mm (optional — you can embroider eyes instead).
- Yarn Needle: For sewing parts together and weaving in ends.
- Scissors: Small, sharp scissors for trimming yarn.
- Stitch Marker: To mark the beginning of rounds.
- Fabric Glue (optional): For securing the snout and other details.
Cotton vs. Acrylic Yarn for Amigurumi
| Feature | Cotton Yarn | Acrylic Yarn |
|---|---|---|
| Durability | Strong, holds shape well | Softer, may stretch slightly |
| Texture | Smooth, less fuzzy | Softer, more forgiving |
| Ease of Use | Great for beginners, tight stitches | Budget-friendly, widely available |
| Best For | Structured amigurumi, washable items | Plushies, gifts, easy care |
Pro Tip: For this pattern, cotton yarn is ideal because it holds stitches tightly and maintains the platypus’s shape. Acrylic works well too — just be sure to stuff firmly to prevent sagging.
Step-by-Step Platypus Crochet Pattern
This pattern uses US crochet terminology. Follow the rounds in order, and use a stitch marker to track your progress.
Step 1: Crochet the Head
- Make a magic ring.
- Rnd 1: 6 sc into ring. (6)
- Rnd 2: 2 sc in each st around. (12)
- Rnd 3: (sc in next st, 2 sc in next st) around. (18)
- Rnd 4: sc in each st around. (18)
- Rnd 5: (sc in next 2 sts, 2 sc in next st) around. (24)
- Rnd 6–8: sc in each st around. (24)
- Rnd 9: (sc in next 2 sts, sc dec) around. (18)
- Rnd 10: sc dec around. (9)
- Fasten off, leaving a long tail for sewing.
Step 2: Crochet the Snout (Separate Piece)
- Make a magic ring.
- Rnd 1: 6 sc into ring. (6)
- Rnd 2: 2 sc in each st around. (12)
- Rnd 3: sc in each st around. (12)
- Fasten off, leaving a tail. Sew the snout to the center of the head using a whipstitch.
Step 3: Crochet the Body
- Make a magic ring.
- Rnd 1: 6 sc into ring. (6)
- Rnd 2: 2 sc in each st around. (12)
- Rnd 3: (sc in next st, 2 sc in next st) around. (18)
- Rnd 4–7: sc in each st around. (18)
- Rnd 8: (sc in next 2 sts, sc dec) around. (14)
- Rnd 9–10: sc in each st around. (14)
- Stuff firmly with fiberfill.
- Rnd 11: (sc dec) around. (7)
- Fasten off, leaving a tail for sewing.
Step 4: Crochet the Arms (Make 2)
- Make a magic ring.
- Rnd 1: 6 sc into ring. (6)
- Rnd 2–4: sc in each st around. (6)
- Fasten off, leaving a long tail. Flatten slightly and sew to the sides of the body.
Step 5: Crochet the Legs (Make 2)
- Make a magic ring.
- Rnd 1: 6 sc into ring. (6)
- Rnd 2–5: sc in each st around. (6)
- Flatten and sew to the bottom of the body. Leave the top open for the webbed feet.
Step 6: Crochet the Webbed Feet and Tail
Webbed Feet: Using dark brown yarn, chain 3, then slip stitch into the first chain to form a ring. Attach to the open end of each leg using slip stitches.
Tail: Chain 8, slip stitch into the second chain from hook and each chain across. Sew the tail to the back of the body.
Step 7: Assembly and Finishing
- Sew the head to the top of the body using the long tail from the head.
- Position and sew the snout in the center of the head.
- Attach safety eyes between Rnd 4 and 5 of the head, or embroider eyes using black yarn.
- Use dark brown yarn to embroider a small mouth under the snout.
- Weave in all ends securely.
Crochet Graphic (Platypus Body)
Below is an ASCII representation of the platypus body shape using standard crochet symbols:
● / \ / \ x x / \ / \ x x x x \ / \ / x x / \ / \ x x
Legend:
| Symbol | Meaning |
|---|---|
x |
Single Crochet (sc) |
V |
Increase (2 sc in one st) |
A |
Decrease (sc2tog) |
O |
Chain (ch) |
● |
Slip Stitch (sl st) |
Finished Measurements
| Measurement | Size (Approximate) |
|---|---|
| Height | 14 cm (5.5 inches) |
| Width (at widest point) | 10 cm (4 inches) |
| Skill Level | Beginner |
Creative Uses for Your Crochet Platypus
Your finished platypus isn’t just a toy — it’s a versatile craft that can be used in multiple ways:
- Baby Shower Gift: A soft, non-toxic plushie made with organic cotton.
- Nursery Decoration: Place it on a shelf or crib as a cute accent.
- Etsy Product: Sell as a handmade crochet plushie on your shop.
- Birthday or Holiday Present: Personalize with the recipient’s favorite colors.
- Holiday Ornament: Add a loop and hang on a Christmas tree or nursery mobile.
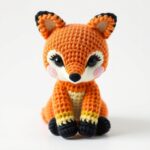
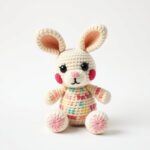
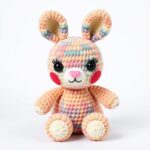
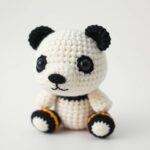
You can even create a whole collection of cute crochet animals using similar techniques! Consider branching out to a bunny, fox, or panda next.
Common Mistakes to Avoid
Even simple patterns can go wrong if you’re not careful. Here’s what to watch for:
- Skipping Stitch Markers: Always use one to avoid losing track of your rounds.
- Overstuffing or Understuffing: Too much fiberfill can distort the shape; too little makes it floppy.
- Inconsistent Tension: Keep your stitches even to maintain a professional look.
- Ignoring the Snout Shape: The flat snout is key to the platypus’s identity — don’t make it too round!
- Skipping the Webbed Feet: These define the platypus — don’t forget them!
Tips for Maximizing Results
Follow these best practices to ensure your platypus turns out beautifully:
- Use a Tapestry Needle: Helps weave in ends neatly and securely.
- Block Your Pieces: Lightly steam or wet-block the head and body to shape them before assembly.
- Change Colors Carefully: When switching yarn, leave a 4-inch tail to weave in later.
- Practice the Magic Ring: It’s the foundation of tight, seamless starts.
- Take Photos: Document each step — it helps with troubleshooting and inspires others!
For more advanced techniques, check out beginner crochet tips for amigurumi or join a community like Ravelry: Amigurumi Group to share your progress and get feedback.
Conclusion
This free amigurumi crochet pattern is your gateway to creating a charming, handmade platypus that’s as fun to make as it is to gift. With clear instructions, beginner-friendly stitches, and a design that’s instantly recognizable, you’ll have a finished stuffed platypus toy in no time. Whether you’re crafting for joy, profit, or gifting, this pattern delivers creativity and satisfaction.
Download the free pattern and start crocheting your Platypus today! Share your creation on social media with #AmigurumiPlatypus — we’d love to see your masterpiece.
Frequently Asked Questions
- Can I use different yarn weights? Yes, but adjust your hook size accordingly. For example, use a 4mm hook for DK weight yarn.
- Do I need safety eyes? No — you can embroider eyes with black yarn for a more rustic look.
- How long does it take to crochet a platypus? About 3–5 hours, depending on your speed and experience.
- Can I wash the finished plushie? Yes, hand wash in cold water and